How to Run Diablo IV on Steam Deck
Diablo IV is one of the most popular action role-playing games of all time. It has been a fan favorite since its initial release in 1996, and its popularity has only grown since then. Now, with the release of the fourth installment of the game, players can enjoy Diablo IV on the Steam Deck.
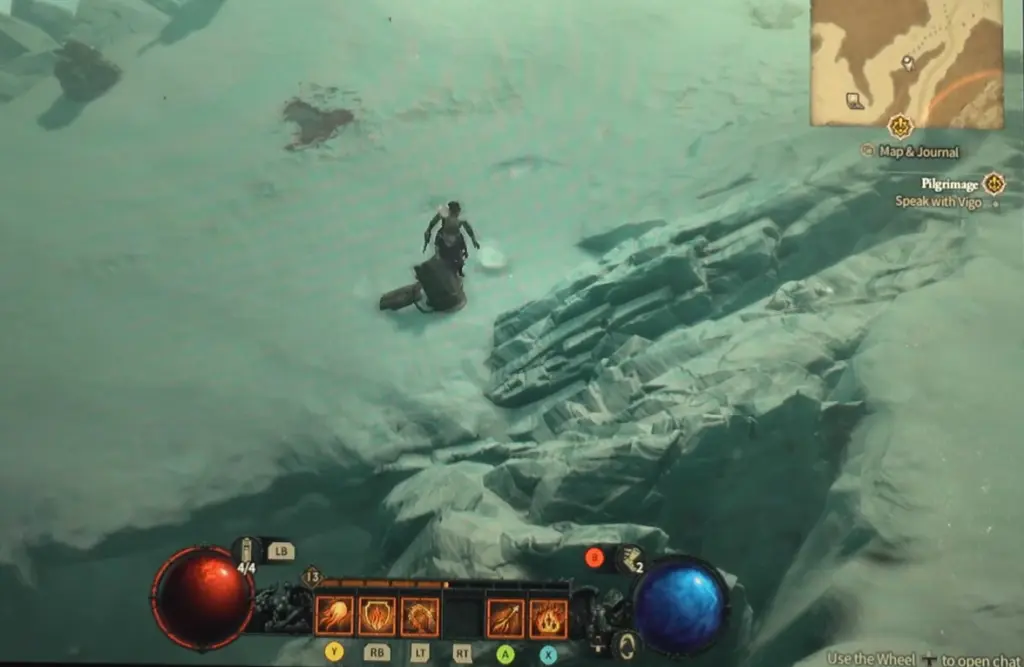
Players can now access Diablo 4 on Steam Deck ahead of its official launch on June 6. To get the game running, players will need to download the Beta version which is currently available.
If you want to play the game on Steam Deck, you’ll need to follow these steps.
How to install Battle.net on Steam Deck
GloriousEggroll recently released an update to Proton GE 7-51 specifically to address an issue with Diablo 4’s beta. It is important to note that this update should only be used for Diablo 4 and not for any other games. You can read more info about this release here.
- Switch to Desktop Mode
Click on the Steam button and select Power, then Switch to Desktop. Wait for your device to reboot before moving on to the next step. - Download the Battle.net Installer
Open up your preferred browser and head to the Blizzard download page. You can also search for it on Google if you prefer. Download the Windows installer for Battle.net. - Download ProtonUp-Qt
To download the new version of ProtonUp-Qt, open the Discover app and find the “GE-Proton7-51-diablo_4_beta” version. Download it, then close the Discover app once it is complete. - Add Battle.net
To add the app to Steam, go to the bottom left of the Steam window and select “Add A Game”. Then choose “Add a non-Steam Game” from the options. After that, open your file browser and go to the Downloads folder. Select “All Files” from the bottom of the page, and then select the “Battle.net-Setup.exe” file. - Install the Battle.net
Look for its shortcut in Steam. Right-click the shortcut, then select ‘Properties’. In the window that appears, check the box next to ‘Compatibility’ and select ‘GE-Proton7-51-diablo_4_beta’. After this is done, click ‘OK’ and run the installer. Once the installation is complete, close the installer without logging in. - Update shortcut for Battle.net
open the shortcut menu by right-clicking on it. Then, select Properties and click on Browse. You will be asked to search for the location of the “Battle.net Launcher.exe” file.- Built-in SSD: /home/deck/.steam/root/steamapps/compatdata/[last id]/pfx/drive_c/Program Files (x86)/Battle.net/
- SD Card: /run/media/mmcblk0p1/Battle.net/
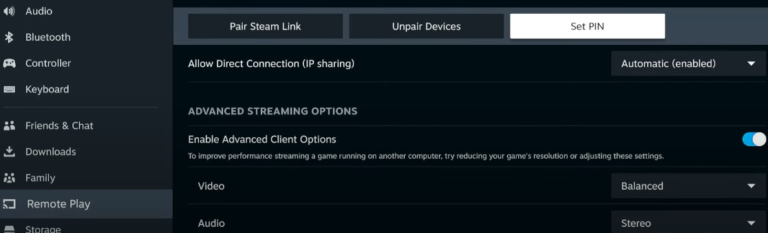
You can now launch Battle.Net by accessing the Non-Steam section of your Steam Library. To do this, you will need to press the STEAM + X buttons to bring up the on-screen keyboard. If you wish to use a mouse cursor, hold down the STEAM button and use the Right Trackpad with the Right Trigger as a mouse button.