How to Roll Back BIOS Update on ROG Ally
Did you just push the “Update” button on your ASUS ROG Ally’s BIOS, and now you’re wishing you could take it back? It’s alright, we’ve all been there! There’s no need to panic because, believe it or not, you can actually reverse this update! A BIOS update is not always irreversible.
It’s a bit of a plot twist, isn’t it? Normally, updates are seen as positive, but in this case, we’re trying to backtrack. The BIOS 319 update has been more of a curse than a blessing, causing a significant slowdown of nearly 20%. ASUS itself advises against this update. However, if you’ve already installed it, don’t sweat it! We can still navigate through this issue together.
Note: If you don’t want to roll back to BIOS 317, you can update to BIOS 322 which is recently released by Asus to address several issues.
Table of Contents
Rolling Back to BIOS Update 317 With a Dock
- Visit the ASUS ROG Ally BIOS page.
- Download the BIOS for ASUS EZ Flash Utility and BIOS 317 (if you don’t already have it).
- Copy the Flash Utility file onto your connected USB drive.
- Fully turn off the ROG Ally.
- Connect your dock to power your Ally and connect it to your USB drive.
- Boot the Ally while pressing the down volume button to launch BIOS mode.
- In the BIOS mode, navigate to Advanced mode > ASUS EZ Flash 3 Utility, and select the 32GB storage device.
- Locate and select the 317 BIOS file under ‘Folder‘.
- Keep the device connected to power until the rollback process completes.
- After the device fully reboots, ensure the BIOS update 317 is in effect.
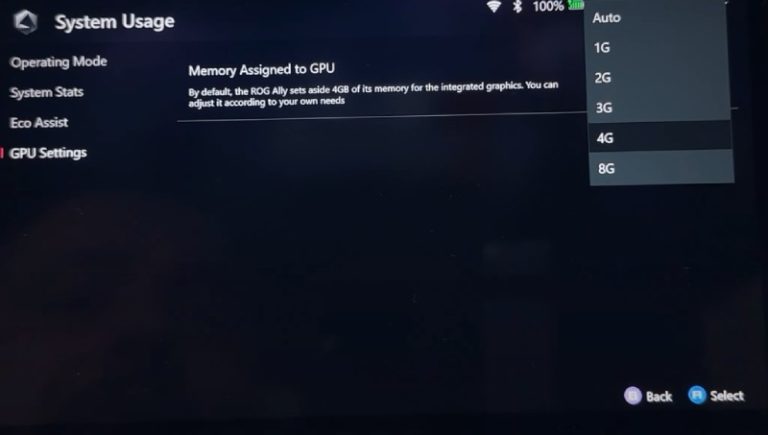
- Go to the user settings and disable ‘automatic install essential updates’ to prevent an unwanted update to BIOS 319.
Rolling Back to BIOS Update 317 Without a Dock
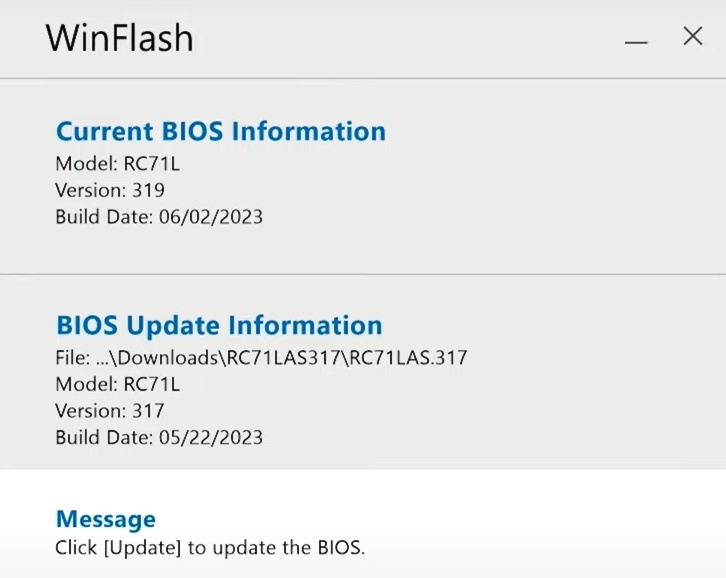
- To kick things off, hunt down a fitting download for ASUS WinFlash. Meanwhile, snag the 317 BIOS file from the ASUS ROG Ally BIOS page and unzip the file.
- Pop open a command prompt window and select ‘run as administrator’. In the box that pops up, type ‘
cd (file location of ASUS WinFlash)‘, hit enter, then type ‘WinFlash /nodate‘. Once that’s done, close the command window and open WinFlash. - Click on ‘Get BIOS from Device’ and point it towards the 317 BIOS file you downloaded earlier. Hit ‘Update’, and when the update finishes its job, select ‘Exit’.
- At this point, your Ally should restart and start the rollback process. Leave it to do its thing with the power connected. And remember – just like the dock method, you’ll want to uncheck ‘automatically install essential updates’ in the user settings.
ASUS is expected to address the performance issues soon. Until then, these steps can help you roll back to a more stable BIOS version.